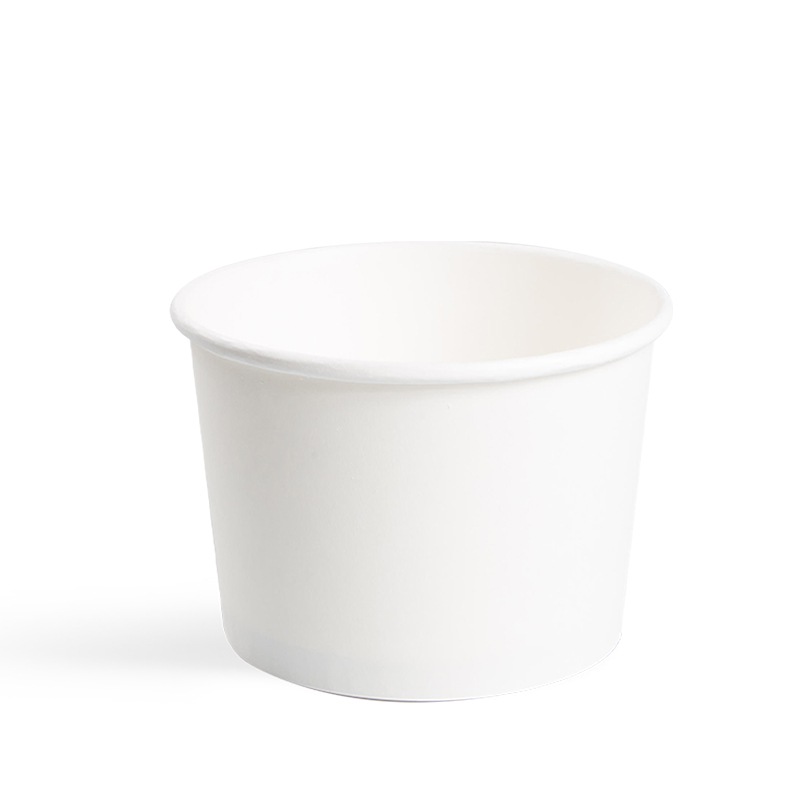
Paper bowls are versatile and can be used for a variety of crafts and decorations. The best thing about paper bowls is that you can easily make them at home with just a few basic supplies. Whether you are looking to create a centerpiece for your dining table or want to make an attractive display for your home, DIY paper bowls can be a great choice. Here’s a step-by-step guide on how to make your own paper bowls for crafts and decorations.
Materials Needed:
· Scissors
· Card stock paper or construction paper
· Glue stick
· Ruler
· Pencil
· Compass
· Decorative tape (optional)
· Paints or stickers (optional)
Instructions:
Step One: Choose the type and color of paper you would like to use for your paper bowls. You can use cardstock or construction paper, which can be found in a variety of colors and textures.
Step Two: Using the compass, draw two circles on the paper. One circle should be slightly smaller than the other. You can choose the size of the bowls according to your preference. Cut out the circles.
Step Three: Take the larger circle and draw two lines that intersect at a right angle. Cut along these lines. This will leave you with four equal sized pieces of the circle.
Step Four: Take each piece and create folds along the lines in a way that creates a pentagon shape. Repeat this step for all four pieces.
Step Five: Once you have folded all the pieces into pentagon shapes, take the smaller circle and place it on a flat surface. Use the glue stick to apply glue on the edges of one side of a pentagon and attach it to the smaller circle. Keep adding pieces in a clockwise direction around the circle until you have attached all four pieces.
Step Six: Use the glue stick to apply glue on the edges of the second pentagon and attach it to the first one. Keep repeating this step until all four pentagons are attached. You should now have a bowl-like shape.
Step Seven: To strengthen the bowl, cut a strip of paper that is about 1 inch wide and long enough to go around the edge of the bowl. Apply glue to the strip and attach it to the edge of the bowl.
Step Eight: You can add decorative tape around the edge of the bowl or paint it with the color of your choice. You can also add stickers or other decorations to give your bowl a unique look.
Step Nine: Your DIY paper bowl is now ready to use as a decorative item or to hold small items like trinkets, candies, or snacks.
In conclusion, DIY paper bowls are an easy and inexpensive way to add a decorative touch to your home or party. With just a few basic supplies and some simple steps, you can create beautiful and unique paper bowls that will impress your guests and brighten up any room. Try different colors and textures of paper and experiment with different designs to create your own unique paper bowl creations.


